Category: Homeschooling

  • Manitou Springs Colorado Field Trip


    One of the things we love most about living in Colorado is how much variety we have right in our backyard—plains, mountains, foothills… take your pick. There’s always somewhere new (or familiar) to explore.

    One of our favorite spots? Manitou Springs, just west of Colorado Springs. It’s a quick, easy drive—just over an hour from home—and always worth the trip.

    This past year, we visited the Cliff Dwellings and Museum, and invited some good friends to tag along. We had the best time! The kids were all in—climbing, exploring, soaking it all up. We had actually visited the year before with a school group, which was fun in a totally different way, but this time felt more relaxed and personal. Everyone loved it both times!

    While we were in town, we also checked out one of the natural spring fountains. Cold, fizzy, and definitely a unique experience! It’s one of those quirky little things that makes Manitou Springs special—and a must-visit on our Colorado adventure list.

    Manitou Springs Cliff Dwellings

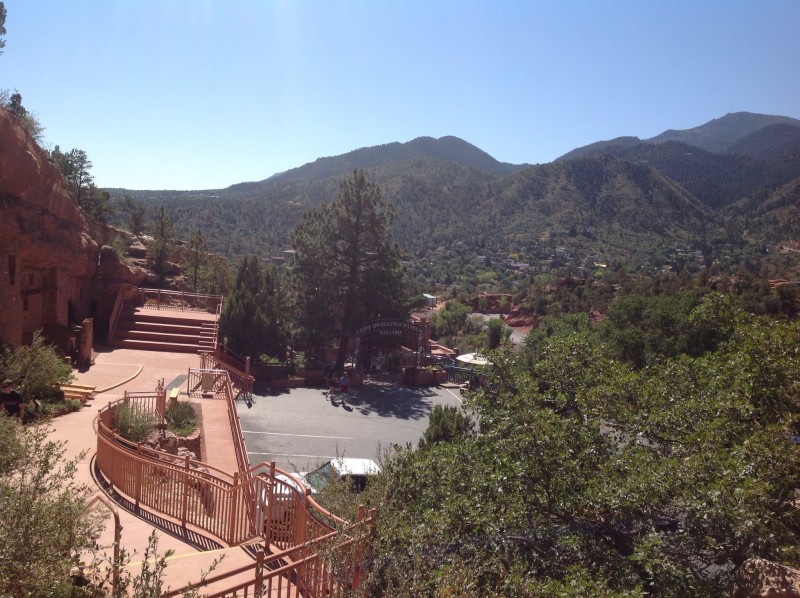
    The Cliff Dwellings are just minutes away from downtown Manitou Springs.  Manitou Springs is located in the foothills of the great Rocky Mountains, it is just a little way away from Pikes Peak! Did you know that Katharine Lee Bates wrote America the Beautiful while she attended Colorado College in Colorado Springs? It is believed that she wrote several lines after visiting the top of Pikes Peak!

    The Cliff Dwellings were home to the Anasazi people at one time.  Read more about them HERE.

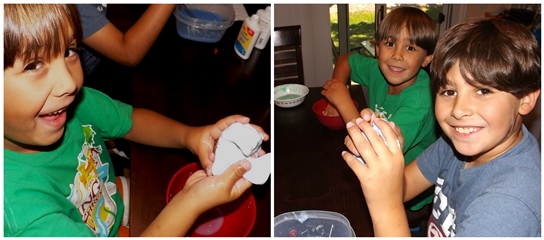
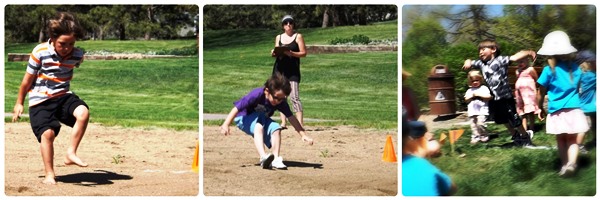
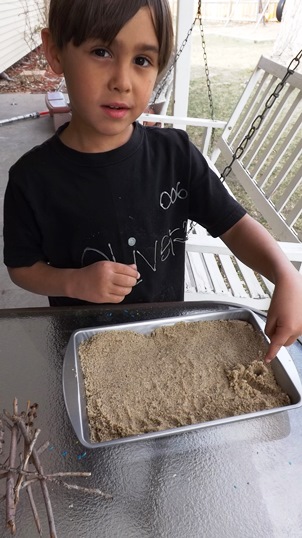
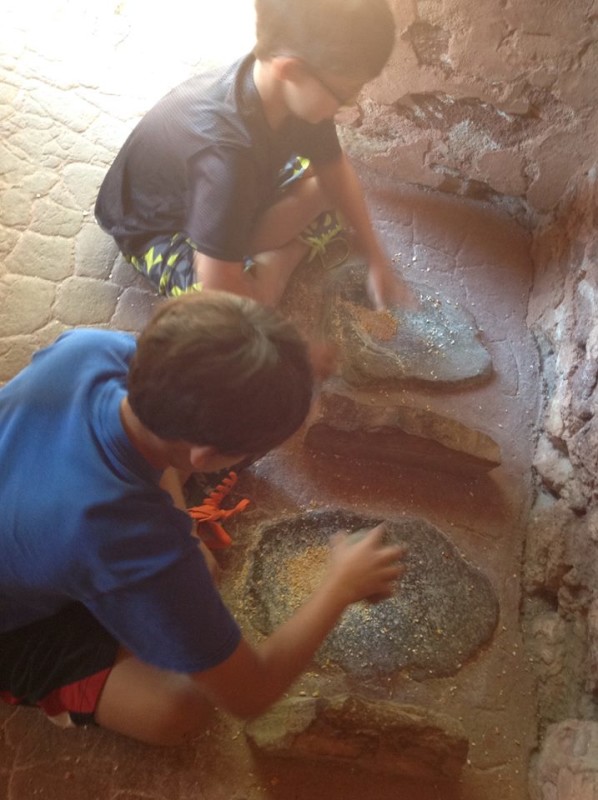
    While at the Cliff Dwellings, the kids had an opportunity to grind corn the way the native people would have. I explained that they would have needed a large of amount of corn in their everyday life. The boys could not believe how hard people had to work for just one simple staple.


    Manitou Spring Corn Grinding
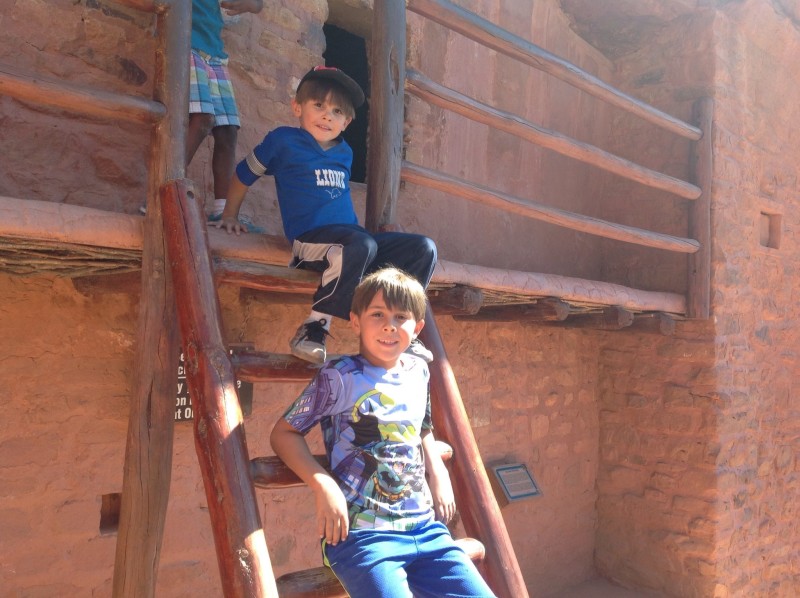
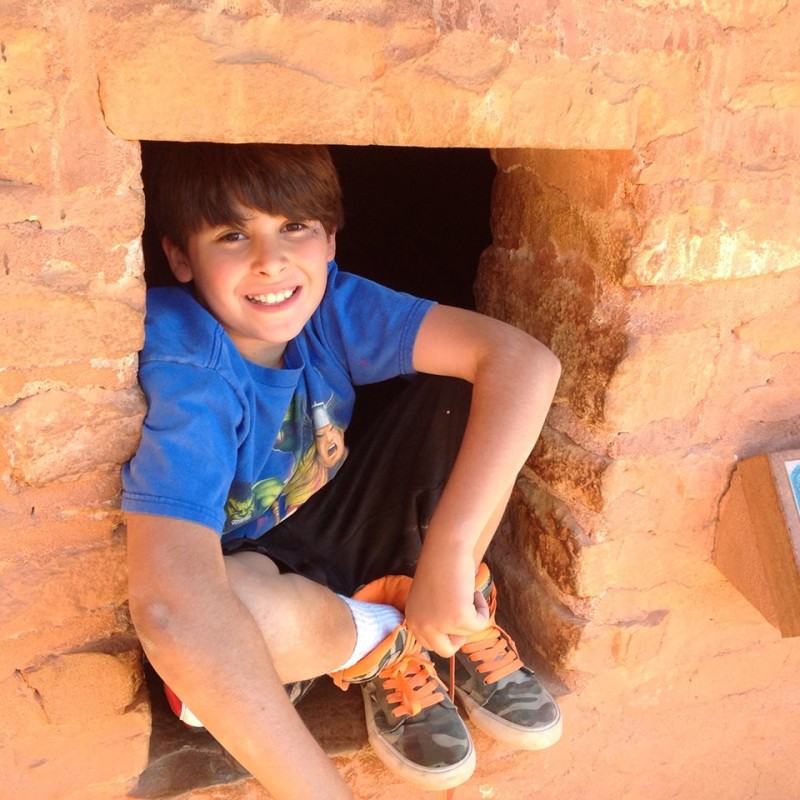
The actual dwellings are laid out really well to keep you flowing right along. They also have signs along the way to give you the history you are looking for.

    Manitou Springs Cliff Dwellings

    Manitou Springs Cliff Dwellings Museum

    There is a fantastic overlook complete with the super-fun, quarter-per-view binocular machine things. 🙂

    Manitou Springs Cliff Dwellings Overlook

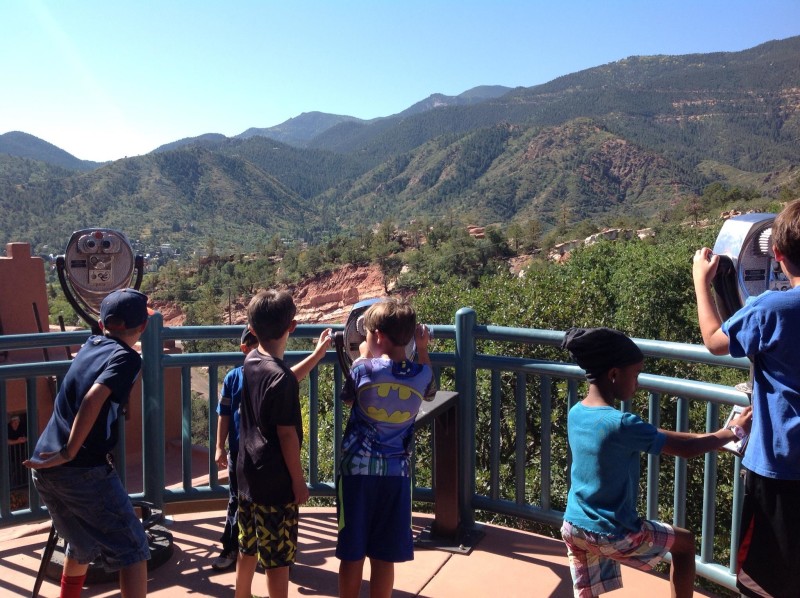
    Kids love looking through those!

    Inside there is a awesome gift shop and a museum display area. Lots to learn!  Self-paced too, just the way we like it!

    Manitou Springs Cliff Dwellings Overlook

    Manitou Springs Cliff Dwellings Museum

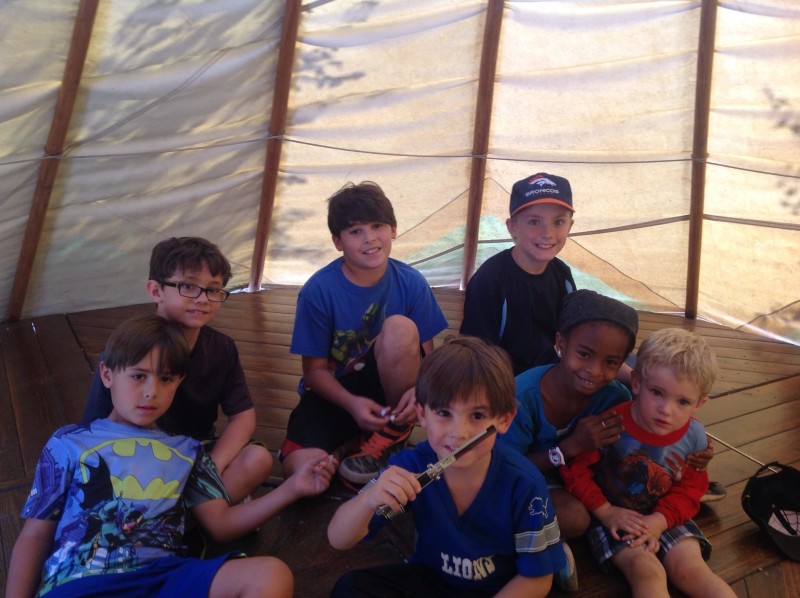
    Outside, there is also a huge teepee!  The kids love this part!

    Manitou Springs Cliff Dwellings Museum teepee

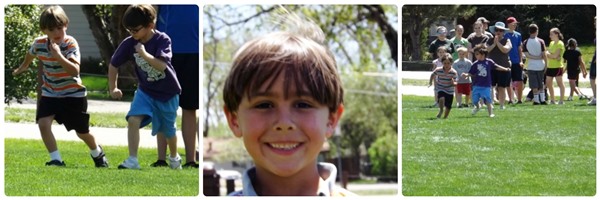
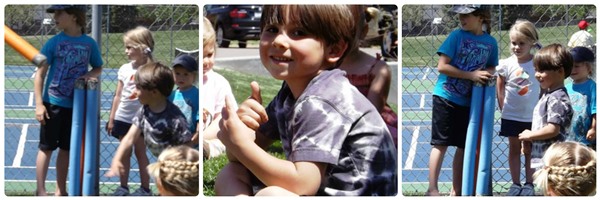
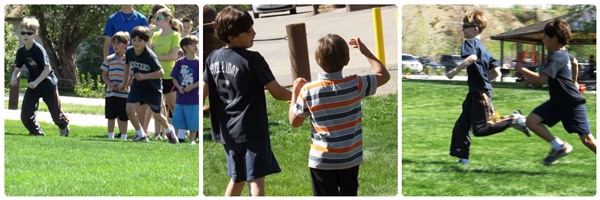
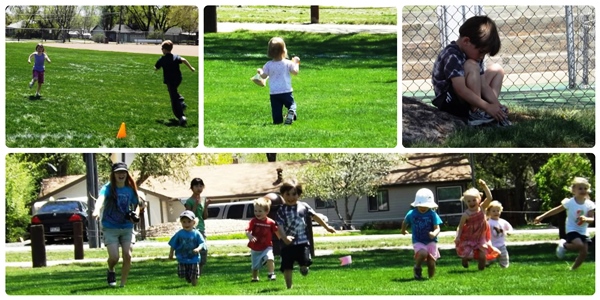
    After we left we headed to the main square and playground in Manitou Springs. They have a few natural spring water fountains in town and we went to Seven Spring Park:

    Manitou Springs Natural Spring Fountain

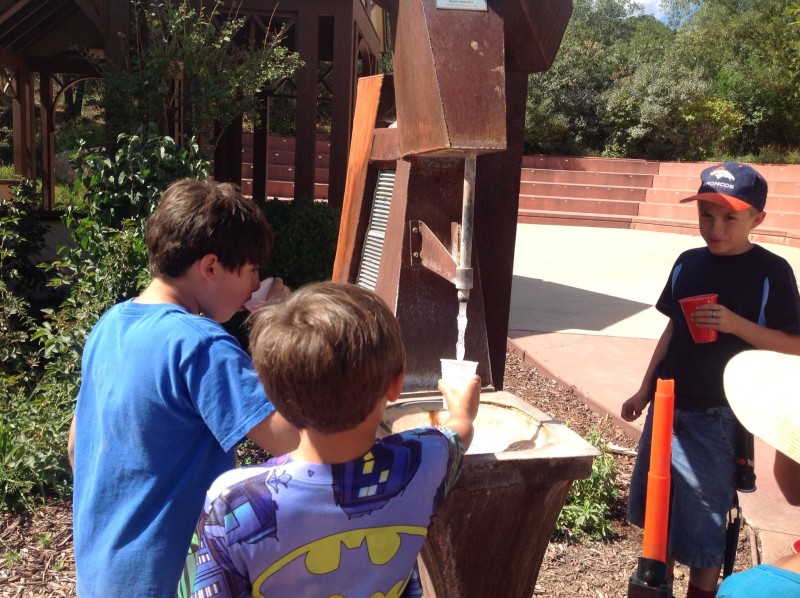
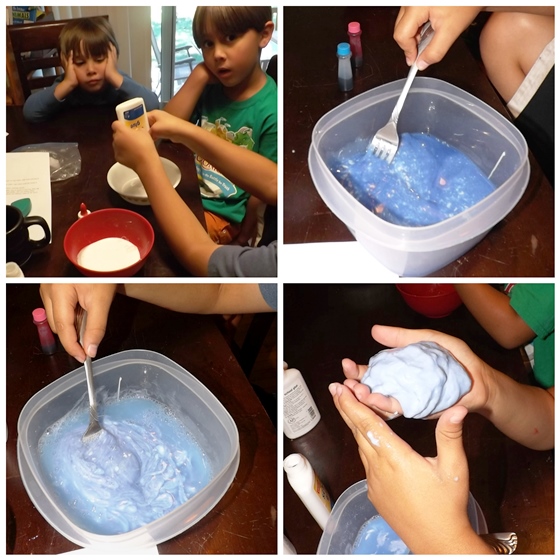
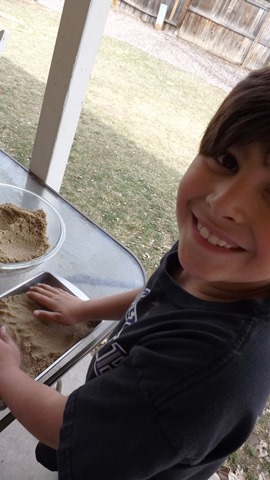
    We brought along some kool-aid mix and lemonade mix, I think Oliver’s face says it all:

    Manitou Springs Cliff Natural Springs

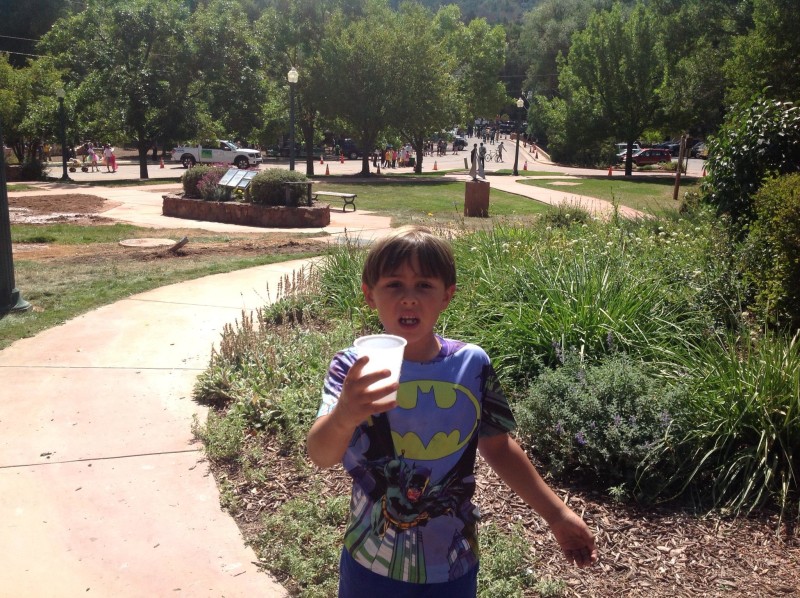
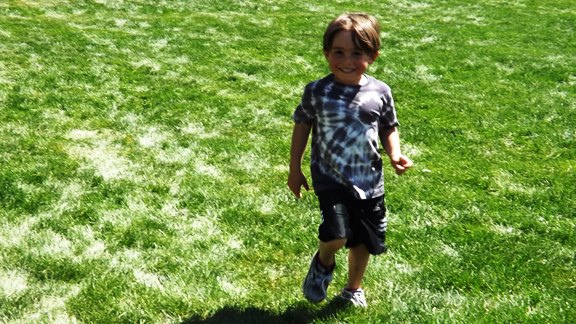
    Although, I liked it, it’s just like flavored sparkling water. The kids loved the park and playground, we ate some good food and headed back to Denver. What a fantastic day with friends!  We love Colorado!

  • Kid’s Easy Science Experiment Using Water and Salt

    My 7 year old participated in a Science Fair with his cousin and his friend, they had a great time learning about how salt can change the freezing time of water. This was for an elementary school science fair, they presented at their booth then gave their presentation to all of the attendee’s.  It was a chance to learn all with science and work on public speaking and presentation skills.

    Easy Science Fair ProjectYou will need an ordinary household freezer set on high Thermometer 4 identical freezer proof plastic containers capable of holding one cup of water Clock Paper Pen Marker Procedure Put the food etc. in the freezer in the fridge or in a cooler filled with ice. Clear all items from the freezer. You have to have an open uncluttered freezer in order to take accurate measurements of freezing rates. Fill each container with one cup of tepid room temperature tap water. Set one container of plain tap water aside. This will be the baseline for determining variances in freezing rates for the other containers. Label it “plain room temperature tap water.”

    1) To the second container add 1/2 teaspoon of salt and stir well. Label it with “1/2 teaspoon/salt.”
    2) To the third container add one tsp. of salt and stir well. Label as “one teaspoon/salt.”
    3) To the fourth container add one tablespoon of salt and stir well. Label. Place the thermometer in the freezer and close the door. Wait one minute, then remove the thermometer from the freezer. Check the temperature shown on the thermometer and record it.
    4) Don’t forget to have your children give their Hypothesis, their predictions on how salt will change the freezing time of water.
    Water Science Experiment
    5) Next place all of the containers in the freezer at the same time. Record the time on the clock. At hourly intervals check the water samples you have put in the freezer. Do this quickly using your index finger so as not to affect the internal temp of the freezer. Make sure that every time you perform a check that you close the freezer door firmly. You must do this to maintain a constant temp in the freezer. Record the time at which each sample was frozen “solid” or did not freeze at all after 8 hours.
    water experiment
    Data and Charts Record all the procedures and experiments you conducted and the data you got from each here. Make it clear and understandable.  We had the kids make a tri-fold presentation board.  On it they recorded their scientific information like Question/Problem, Hypothesis, Materials, Procedure, Data, and Conclusion.  They hand wrote everything and made a bar graph by hand.  They also pasted some pictures of the experiment.
    Science Fair Experiment
    The kids enjoyed every step of the process, even sharing the results with the classmates.  I highly recommend this experiment for your Elementary children, it was a fun learning experiment.
  • Back to School Pictures 2013-2014

    Here we are!  The start of a brand new school year after a nice summer break.  I will be starting my boys the Tuesday after Labor Day.  I worked a lot in June and July so we are taking all of August to fully enjoy our Summer.

    Lately I have been organizing, getting all of the school curriculum ready, printing everything we need for the semester, you name it!  But, of course, one super fun part is back to school pictures.  I love that we can use any backdrop we choose!  It’s all outdoors of course.  This year we took them at the Botanic Gardens of Denver.   My nephew is joining again and we are thrilled to have him.

    Without further ado… our school pictures for 2013-2014 –

    My 3 boys:

    back to school pictures


    back to school pictures


    back to school pictures

    back to school pictures


    back to school pictures


    back to school pictures


    And my sweet nephew Adam:

    back to school pictures

    back to school pictures


    Hope you like!  I sure feel blessed to be able to be with these boys, teach them and learn from them.

    I give thanks to God for the opportunity, it is a true blessing.


  • Homemade Slime for Kids

    Homemade Slime!! Of course one the funnest things to make and learn about matter and polymers.  I had put this off for a very long time because I didn’t have Borax.  I decided that it was time to get some, our Summer is running out and we need something fun and different to do.

    Besides I already knew that the boys would love it because they always asked to buy slime, goop, mars mud, gak, you name it they have asked.  I found this recipe on Steve Spanglers site, a site we love and frequent often.

    Kids Homemade Slime

    Ingredients:

    Borax

    Warm Water

    Elmer’s Glue

    Food Coloring (optional)

    >>CLICK HERE FOR RECIPE AND INFORMATION ON POLYMERS<<
    Homemade Slime2I tripled the batch so each of the boys could have their own, nice size chunk.  They all chose different colors and had fun mixing colors together to create a unique color.  After they finished making it and thoroughly playing with it, we stored them in a ziploc.  They are still great 2 weeks later!

    A fun activity that gives you an opportunity to teach, discuss polymers as the kids are working their ingredients.


  • Field Day 2013

    Field Day

    Field day for Homeschoolers? Of course! This year we were invited to participate in Field Day 2013 with a local homeschooler group.  When I had mentioned to a non-homeschooling friend that my boys were having Field Day she joked around and asked if it was just them against each other. But, no, this was actually a real live Field Day, lol. There were at least 70 participants in total plus many parent volunteers. The events offered were the 50 and 100 yard dash, long jump, shot put, jump rope race, a race around the park, the clothespin drop and even cup stacking.

    Field Day 2013

    All the parents took turns working shifts so everyone could see their children participate in most events. The preschoolers also had their own events with a javelin throw, bean bag toss, long jump and a race.

    Field Day

    After all the events were concluded for the morning there was a ribbon ceremony while we all ate a picnic lunch. We sat in the shade with our good friends that invited us. It was such a wonderful time. Me and the boys left after that but many others stayed for a 3-legged race and some water fun.

    Field Day Long Jump

    What great fun my boys had! I really enjoyed watching all the kids, they all tried their best and displayed GREAT sportsmanship. 🙂

    Field Day 2013

    Field Day 2013

  • Easter Fun with Lego

    Of course, I was again inspired on Pinterest! Last year I created a board called Easter Fun, where I pinned some really cute and fun ideas. Unfortunately, by the time Easter rolled around I forgot all about my little Easter fun board. This year I decided to look through my boards and do projects that I had already pinned before. That is when I came across this fun idea. Anything to do with Legos and my boys are game. This project covers the death and resurrection of Jesus. They know the story about Jesus being put to death and they know the amazing story of Him rising from the tomb, now to put it all together – what fun!

    I grabbed some small cake pans from the Dollar Store and a bag of play sand from True Value hardware store, total cost = under $8.00.  When I showed the boys their inspiration they loved it and JUMPED right in. They all started building Lego tombs immediately.


    Easter Fun Lego Craft

    Cake pans, play sand, pebbles, sticks and Legos.

    Easter Lego Craft

    Placing the tomb, laying the path

    Easter Lego Craft

    Lego_Easter4

    Lego Easter Craft

    Lego Tomb - Calvary

    Lego Tomb - Calvary

    This was a fun activity but I did want to make sure that the kids heard the story again.

    It never gets old. It never ceases to bring me to tears.

    He was pierced for our transgressions, He was crushed for our sins,

    the punishment that brought us peace, was upon Him

    By His wounds we are healed.

    Why do you look for the living among the dead?  He is not here, He is RISEN!

    Enjoy this fantastic song!

  • Open House at Homeschool Connection

    One day a week my two oldest boys go to school, they get to get up, get their backpacks ready and head out the door early in the morning.  A local school district offers a one day a week program for homeschoolers and my boys absolutely love it!

    Last Semester they took classes such as cooking, piano, play performance, fitness, science, and art. Another neat thing is that each semester the kids can choose which classes they want to take, sort of like in high school.

    The Homeschool Connection recently hosted an Open House to showcase all that the students had done throughout the first semester.

    Homeschool Connection Open House


    Open House Homeschool Connection

    Oliver played one of the seven dwarfs in a mini-play, Preston played “America” on the piano, they both cooked up some delicious treats for the parents and they loved showing us their class pet lizard.  I am so thankful that there is an option for homeschoolers, it has been a great experience!

    This also means I get to spend that day with my youngest boy who is only 4 years old, just him and I which is a treat. Anyone that has more than one child knows how balancing time between them can be sometimes so this is really helpful.

  • Kids Quick and Easy Homemade Pizzas

    Ever in a pinch for dinner, had a busy day and not sure what to make in hurry? My husband stopped at the store on his way home from work after he knew I had a very busy day.  I told him to decide what we would have that night.

    He came up with an idea that would please us all, that even catered it to each one of our likes… Homemade Pizzas! But do you want to know the thing that made this delicious dinner so quick and easy? Pita bread for crust! Which does not require anytime to prepare or bake like homemade dough would.

    Kids Homemade Pizzas

    Quick and Easy Homemade Pizzas:

    • Pita bread
    • Pizza sauce
    • Cheese of your choice
    • Toppings, meat, veggies etc.

    We spooned on about 1 tbsp pizza sauce per pita, then added toppings such as pepperoni, Colby cheese, mozzarella,  mushrooms, Canadian bacon, and olives. We each made our own, and wow did the kids ever love doing this! Daddy was our hero!

    We cooked the pizzas on a cookie sheet for 7 minutes, then on the rack for 5 more. Cook times may vary depending on your oven and temperature. For a crispier crust cook longer directly on the rack. Be sure to check on your pizzas so as not to overcook. Delicious!

  • Math Games

    Math GamesMy boys definitely do not take after me, they LOVE math, love it.  They do times tables for fun!  Crazy, I know.  Since they do love it so much I have been trying to come up with some math games to help satisfy their appetite for math.  I have a 3rd grader, 1st grader, preschooler and my nephew who is in K.  I wanted some math games that they could all play together.

    I came up with a couple of different ones and they seem to enjoy them.  I used Jenga blocks to write numbers on them, my kids play Memory with them and we use them to solve math problems too.

    My oldest loves to use a calculator to figure out some super long ones Daddy puts on paper for fun.  I decided  to make some printables for him to have to play some more math games on.

    Math Games

    You can download it here.

    Money Math Games are a great way to get all the kids involved in a fun way and there are many things you can do like play store. Playing store allows them to learn all about buying, selling and giving change which helps them learn real-world money exchanging and how it works.

    Pinterest is another great resource for all things math.

    I am thrilled that my boys are so eager for Math, admittedly, it was my worst subject.  But one great thing about teaching kids is that sometimes they can teach you and they have given me a new perspective on math.