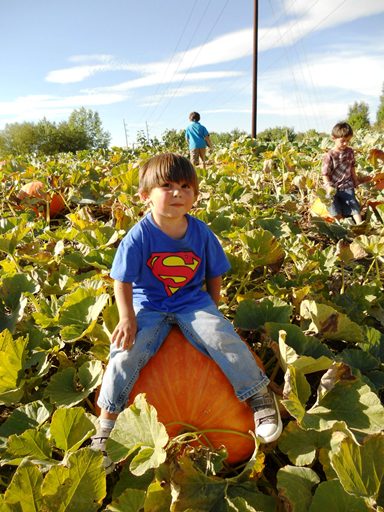
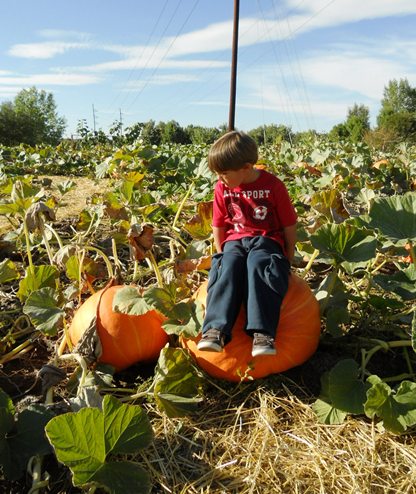
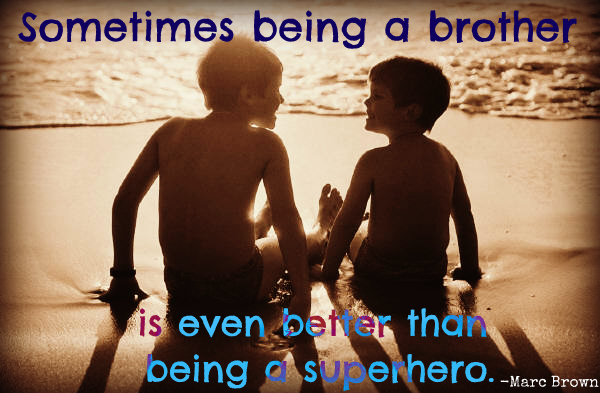
 Having 3 boys, I really love this quote, it is true you know!
Author: thefamilyo
-
Adventures in My Father’s World Week 2 -Jesus Suncatcher
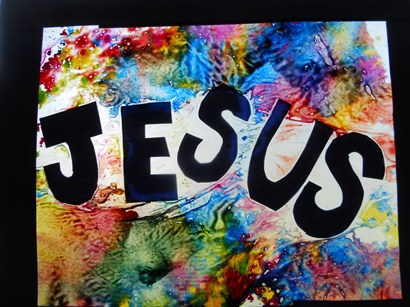
We are loving Adventures in My Fathers World. The Bible portion starts with Jesus, His birth, on to when he starts preaching. We are also learning the different names of Jesus. During week 2 we got to make a Jesus suncatcher. The was fun and easy. This final result is pretty!
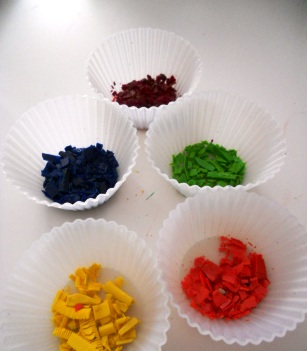
You need Wax Paper, crayon shavings, glue, scissors, construction paper, an iron and newsprint.
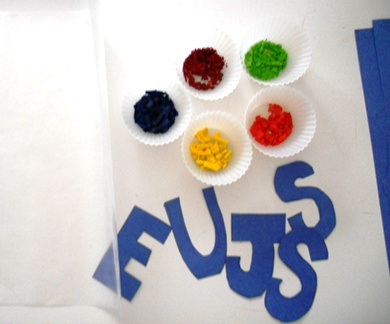 Cut out 2” letters from construction paper
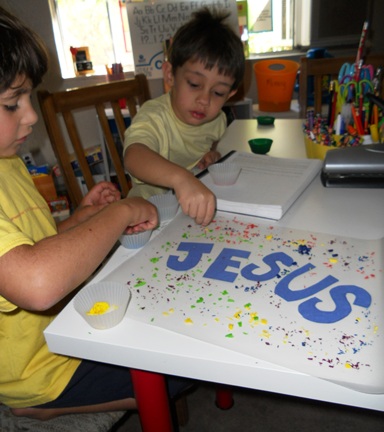 Arrange the letters on wax paper and sprinkle on the crayon shavings, be conservative.
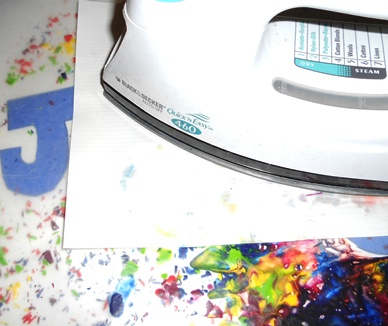 Place another sheet of wax paper on top, cover with newsprint and iron on low. Be sure to have paper under the wax as well.
We added construction paper border to match our letters.
We will definitely use this technique to create other projects in the future. I am thinking maybe a Mayflower silhouette with blue and white crayons shavings, with yellow for a sun.
-
Our Classroom for a Perfect Autumn Day
A couple of Fridays ago we took class outdoors, what a breath of fresh air! It was amazing, fantastic, refreshing and down right FUN!
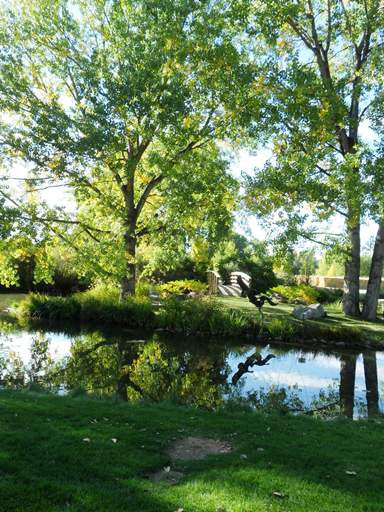
We love going to Hudson Gardens, several acres of God’s beautiful creation! We searched for leaves, watched ducks and geese, chased butterflies and bugs, tumbled in the grass and climbed a rock cave, we even did some bird watching.
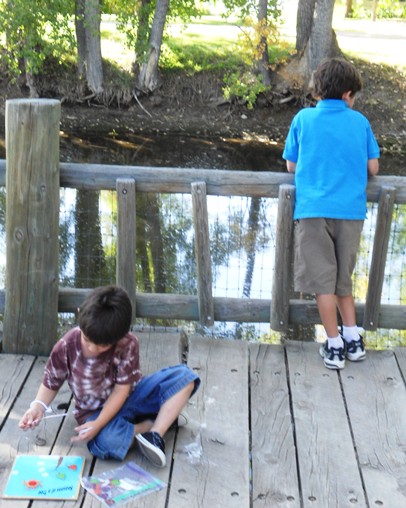 Since we are now into to the Fall, we were thrilled to see the …
and…
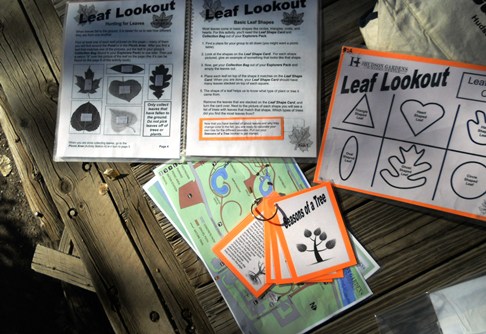
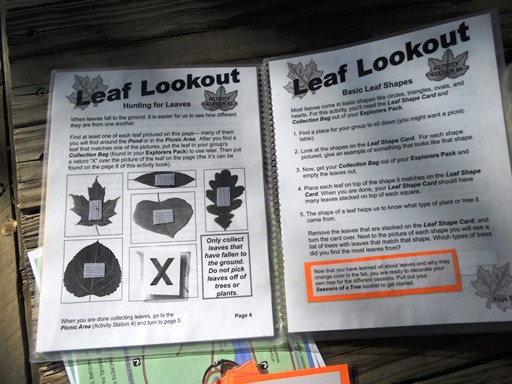
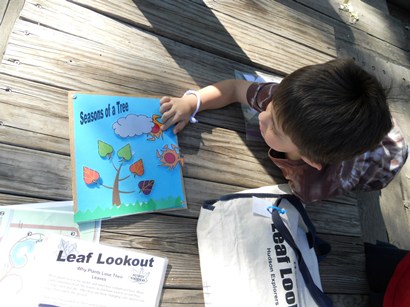
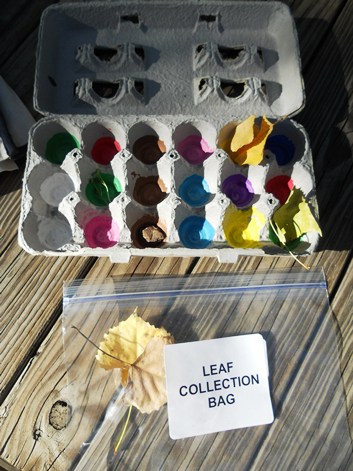
We also checked out a Leaf Explorer Pack from the Office, we learned all about leaves and trees. There were a ton of fun activities and surprises in the pack.
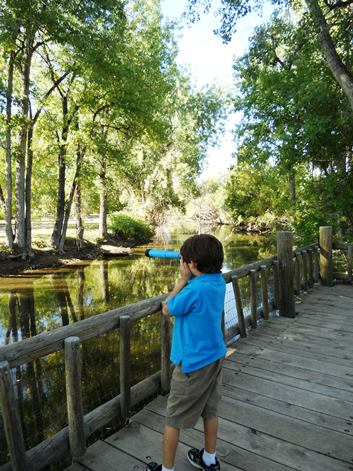
We also took along this, (thanks Scribbit!):
Thank you God for the Best classroom we could ever ask for!
-
Tackling Kid Clutter
Ugh! I never, ever knew how much “stuff” kids can accumulate. Let’s see, between birthdays, Christmas and trips to the toy aisle we definitely do not lack in toys for our children. Another seemingly win-less battle? Getting the kids to pick up after they are done playing.
Sure, I dream of having a plastic, labeled storage bin for each toy set and then only pulling one down at a time. When they are done with one toy I would love it if they put it all back in their bins and then we can pull out another. Because of lack of funds and space, that is just a dream for now.
Because we do lack space, I have to be creative and diligent. I have picked up plastic baskets at the Dollar store which are great for storing small toy sets. Bigger sets like out duplo get stored in a large plastic bin and then it is put on the top shelf of the closet. We take it down after the clean up their other toys.
We also have a really cool bunk bed with HUGE under bed storage drawers. They hold an amazing amount of stuff. One is packed with costumes, the other filled with Thomas the Train sets. These are a blessing, I do not know where I would keep all this stuff!
We have 1 three drawer unit that holds: People/Animals, Cars, and Blocks. The last toy holder in the boys room is an open bin organizer, this holds building blocks, horses and a stable, robot making pieces and learning games. I made these items open and accessible for my littlest guy. My older boys love Hotwheels and Legos, each have their own toolbox to store them in.
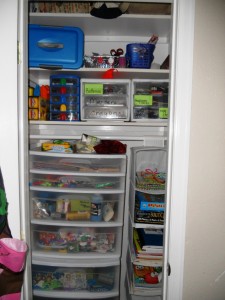
Crafts and art supplies can also become overwhelming as your children grow. I had mine stashed, here and there and everywhere! I did not like trying to gather everything from all over the house. My solution: I turned our coat closet into a craft closet. I sorted the items, and labeled all the drawers.
To sum it all up, my 10 best strategies for de-cluttering and organizing toys in a child’s playroom:
1. Make use of closet space, you do not have to have everything out all the time.
2. Cycle your kids toys, take some and stash them for a few months. When you bring them out the kids are thrilled and love them all over again. When you pull some out, put some more away.
3. Sort and label, teach your children to do the same. Kids like to play in a clean, organized space.
4. Make clean up time a game. Set a 10-minute timer, who clean up the quickest? Ready, set, go!
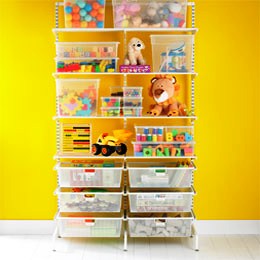
5. Head to IKEA.com or The Container Store for inspiration on storage. The possibilities are endless.
6. Save shoeboxs and other plastic containers that other products come in. Use them, label them. I recycle a ton of this type of packaging. I use them for toys and crafts.
7. Each evening, the family should spend time together. We all go into the room and help clean up any remaining toys from the day, then we all read books. A nice tradition.
8. Don’t be afraid to let go of some of your children’s things. Most the time, they wont even miss it. I remember a couple of years ago when I put the train set away as punishment. I thought they would be devastated. They didn’t even notice!
9. Sell toys and baby gear at a Consignment sale or donate them to local preschools and churches
10. Utilize under bed storage, it is priceless!
Now for some FALL Cleaning and Organizing. Go!
“I wrote this blog post while participating in the SocialMoms and Hot Wheels® blogging program, for a gift card worth $40. For more information on how you can participate, click here.”
-
Kick-Off: Let Fall School Projects Begin
Love this time of year! Who doesn’t, really? I think I write about it every year, unlike the other seasons. Just something about the Fall. It officially starts today, yay! Thought we would kick off the many, many Fall activities we will be doing this season, so excited! We started by doing a leaf study. I purchased this really cool kit from the Used Curriculum sale at my local Homeschool Convention.
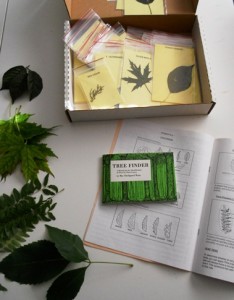 The kit includes many samples of leafs, each in their own plastic sleeve and label. The Tree Finder book has every kind of tree you can find in North America, comes with illustrations and descriptions. The workbook, guides you through lessons on trees and all their parts. Yesterday I let the boys look through everything in the kit. We will start the lessons on Monday.
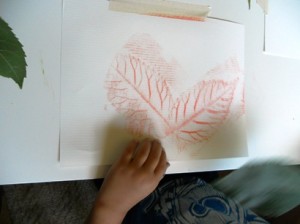
The next project we worked on was leaf rubbings as seen here on Pinterest, which is where I saw it. It is originally posted on this blog.
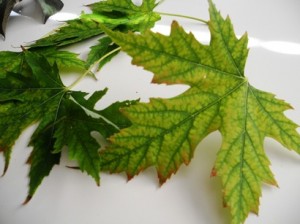
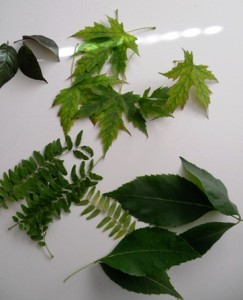 We collected leaves from around our neighborhood.
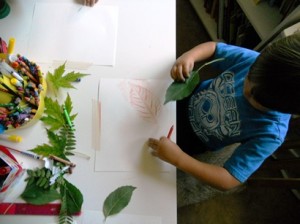
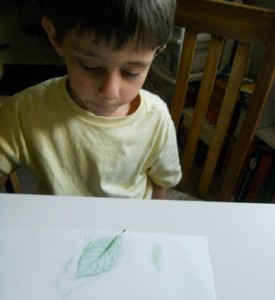
Then we taped the paper down to the table with masking tape. We used crayons that had the labels taken off so we could rub properly. I stressed to the boys the importance of holding the bottom of the paper tight once they placed their leaves under the it.
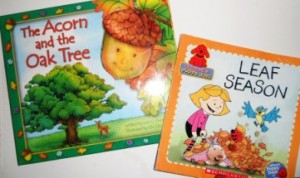
After the leaf rubbings we read 2 books about Fall. One is a family favorite about all seasons but it seems best for Fall it is called The Acorn and the Oak Tree. The other book, of course, was Clifford’s Leaf Season. All in all, this was a great start to celebrate my favorite season.
Happy Fall!
-
Adventures in My Fathers World Wk.2, Columbus’ Ships
We are using Adventures in My Fathers World for our school year. I have a 2nd Grader, Kindergartner, and Preschooler; so far it is working very well. We started off the year by learning about Leif Ericson and Christopher Columbus. The boys have been fascinated. We used a wall map and a globe to trace the explorers routes.
We heard about how long they were out to sea and the hardships involved in such journeys. My boys were wondering why it would take so long to cross the Atlantic Ocean. This came after they asked how long it would take in a plane. I had the opportunity to explain Sailboats and their dependence on the wind.
One of the hands on assignments for Week #2 is making Christopher Columbus’ ships and use the sails to move them across the water.
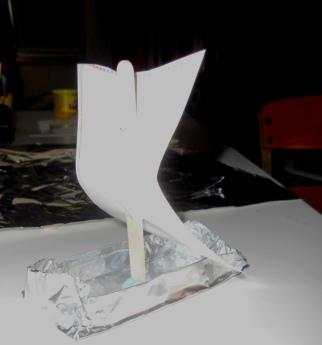
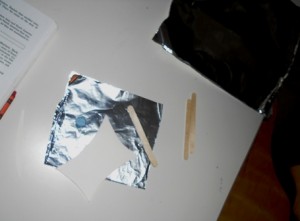 We used aluminum foil, craft sticks, modeling clay, thick paper
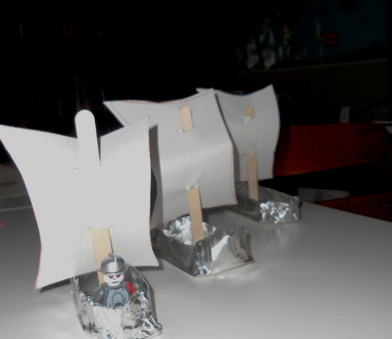
We folded 12″x12″ squares of foil in half then in half and then one more time. Then we folded the sides up to create the boat. We used a dab of modeling clay to hold the craft stick and then attached sails made from resume paper and voila, we had a Nina, Pinto and Santa Maria.
All three ships with Christopher Columbus in the lead. I was not thrilled that Mr. Columbus is a skeleton but the boys scrambled to find some lego men,
boys gotta love em!
After the ships were complete we had them set sail in the best make-shift ocean we could find… the bathtub. They worked really well. The rules: you can only blow on the sail to move your boat. We used straws. The boys loved it! One word of caution – if you have an eager preschooler perhaps wait until naptime to do this. Our lil guy sunk our ships in under 3 minutes.
-
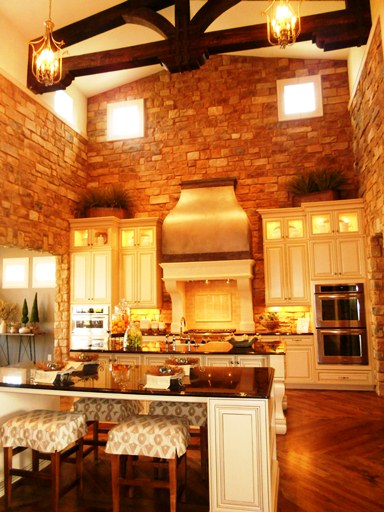
Dream Homes – Dining Rooms & Kitchens
We headed out to our local Parade of Homes to take a peek at some pretty amazing homes. I will be breaking down my tour into several posts.
Dining Rooms and Kitchens
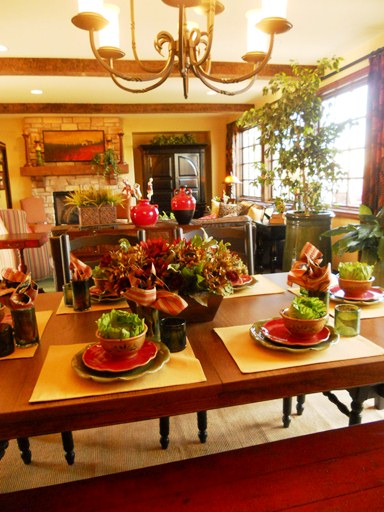 Love the colors used in this room
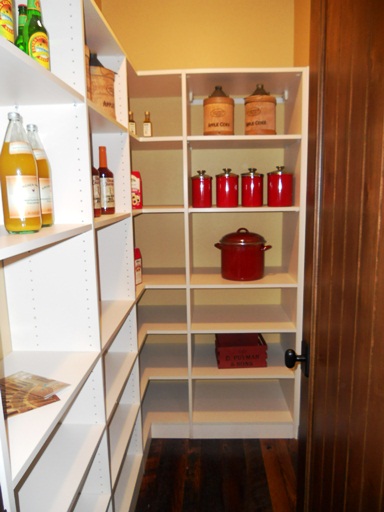 Wow, imagine all your canned goods, cereals and numerous other items in here – a dream!
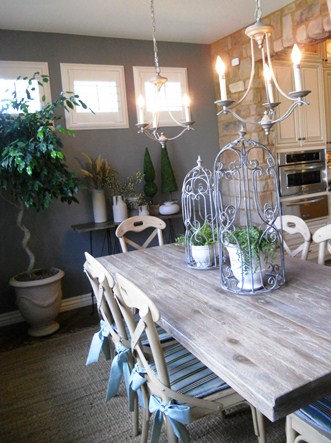 This is in a light filled room, just off my favorite kitchen.
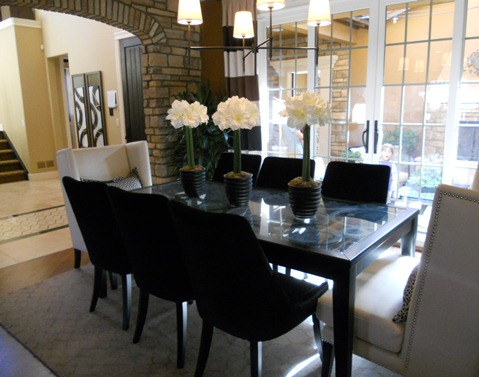 I love the black and white in this dining room. The doors open up to an amazing outdoor balcony overlooking an outdoor living room.
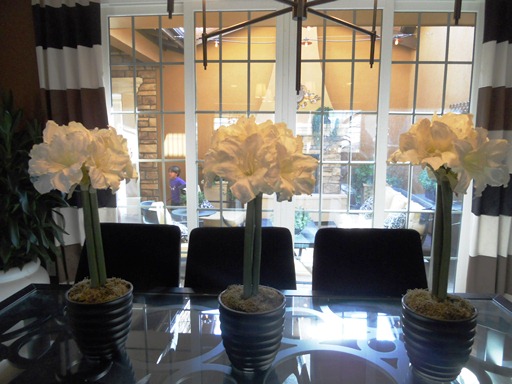 I like how the flowers are grand but muted, and tall so guests can see each other.
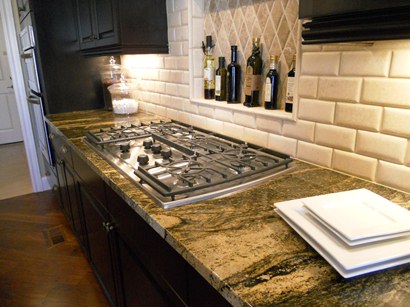 Imagine the meals you could cook up on this!
It was a fun time, the boys were in awe.
-
Art Time with the Boys
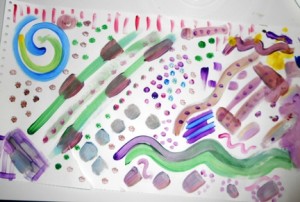
This year we are doing Adventures in My Fathers World, included in that is “I Can Do All Things” art lesson book. We did assignments out of there to start off our homeschool week. The lessons are good but it starts out with coloring and drawing and my boys were dying to paint something. So I headed over to Pinterest and searched for Kids Painting, got so many great results but one piqued my interest. It was a paper with swirls, dots, waves and stripes. I thought it would be a perfect, easy and fun lesson with the boys. The original post is here at Be a Fun Mum.
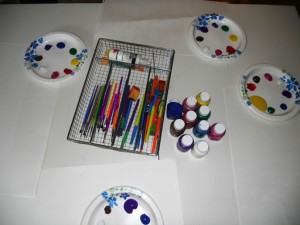
I set the table up while they were all on break. I usually have them share paint and brushes but that never turns out the way I imagine it can. This time, everyone got their own palette and a variety of brushes.
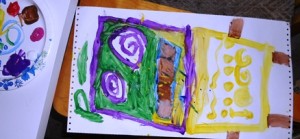
I asked them to watch me paint the different items and then told them they could make any kind of painting they wanted as long as they used dots, stripes, waves and swirls.
They liked being able to have freedom with their painting, I liked that they actually incorporated the items into their creations.
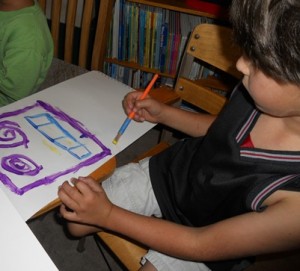
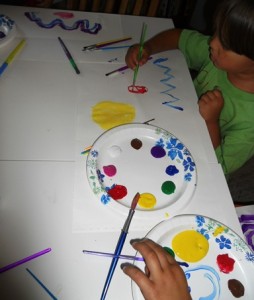 Oliver painting the Solar System
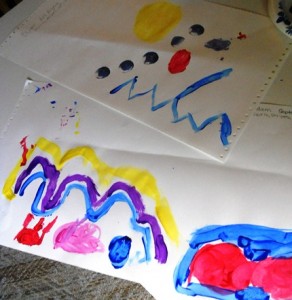 Adam’s is ocean waves, fish “and the red part is a force field” -lol
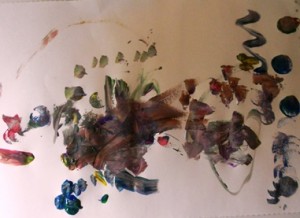 Samuel immediately mixes all his colors up and made this masterpiece
This was fun! I even got in on the action, what a blast! Thanks to “Be A Fun Mum“!
-
Back to School Pictures
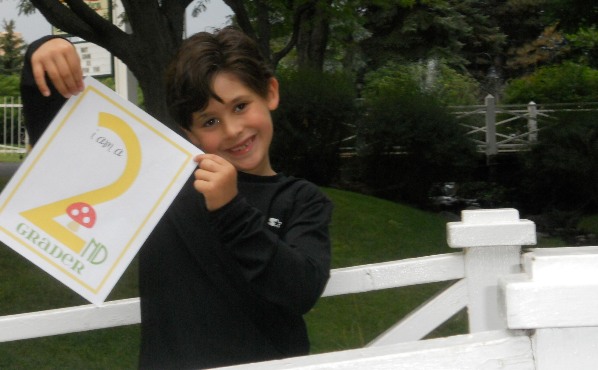
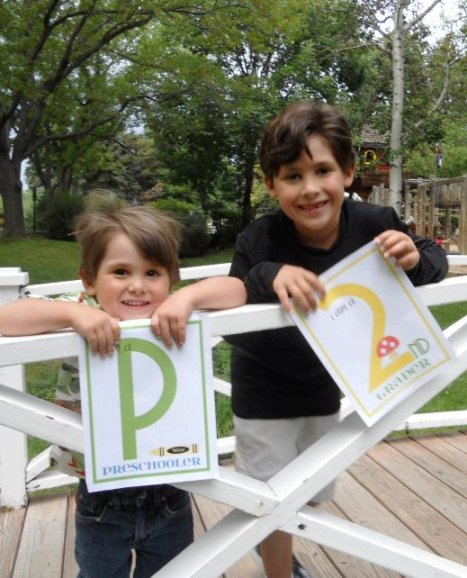
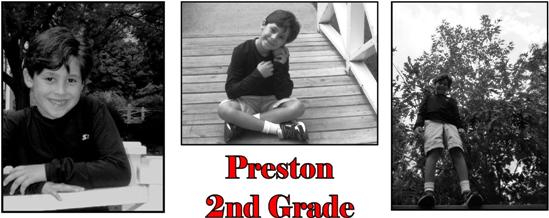
School Pictures! Looking around the web I found some great ideas! My middle child is not in this round, he was not in the mood so I didn’t push it. I will get him though! He will be next, may take some bribery.
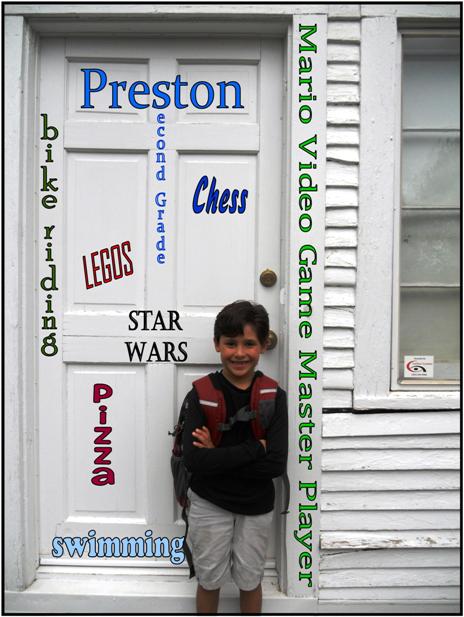 got this idea from Pinterest. I showed him the picture and asked if there was anything else he would want people to know about him and he added “MarioVideo Game Master Player” – *too funny*
these signs are from iheartnaptime.net, thank u!
This was a fun project and I look forward to taking some more with my Kinder. Thanks to contributors of Pinterest for the inspiration.
